How to Draw a Paint Horse
Alphabetize
- Introduction
- Getting the Structure through Simple Forms
- Sketch
- Clean Fine art
- Flats
- Colour
- Presentation
one. Introduction
Hullo anybody, and welcome to my new tutorial! Do you like animals? In this tutorial, I will teach techniques to depict horses in different poses in a fast, simple, and effective way. Despite the love we have for all animals, information technology is somewhat challenging to transfer to paper past drawing.
The start fundamental step, both for this illustration and for whatsoever other, is accurate references. I volition create a reference board to accomplish the best outcome in my illustrations. This time I will utilise Clip Studio Paint, the digital painting application. Still, this tutorial content is also applicable to those who employ traditional fine art materials or other applications. Are you ready to learn? Let'due south get started!
ii. Getting the Structure through Simple Forms
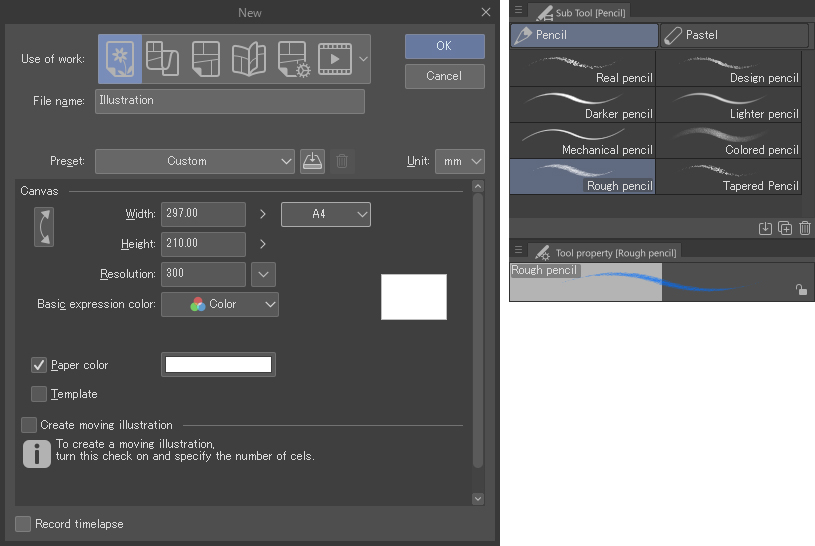
Open a new file in Clip Studio Paint (File> New> A4, horizontal, white), and select the pencil tool Rough pencil in blue for the sketch.
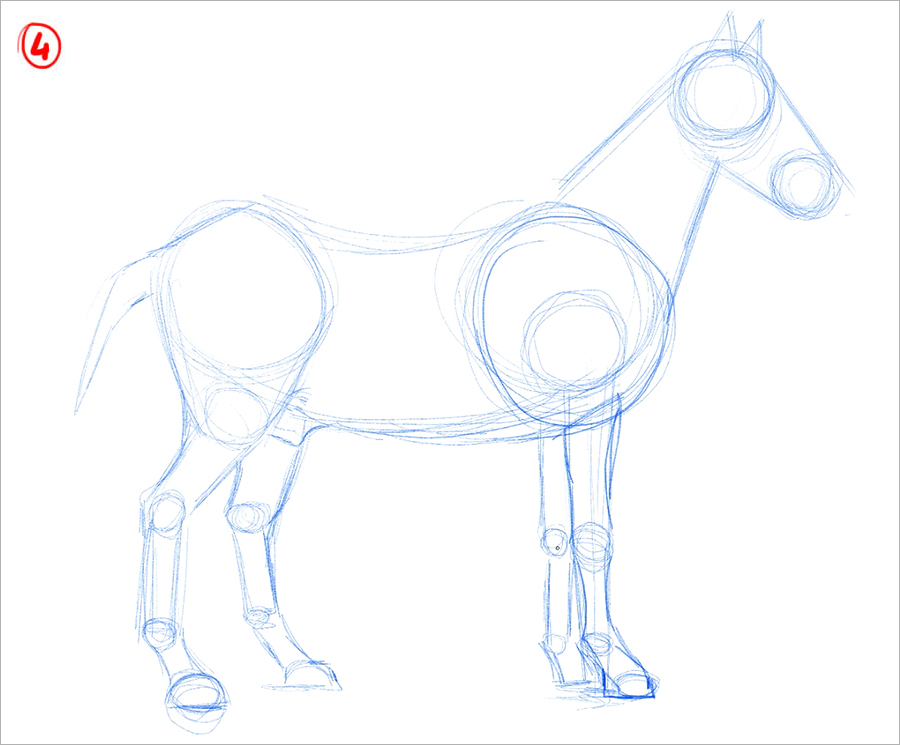
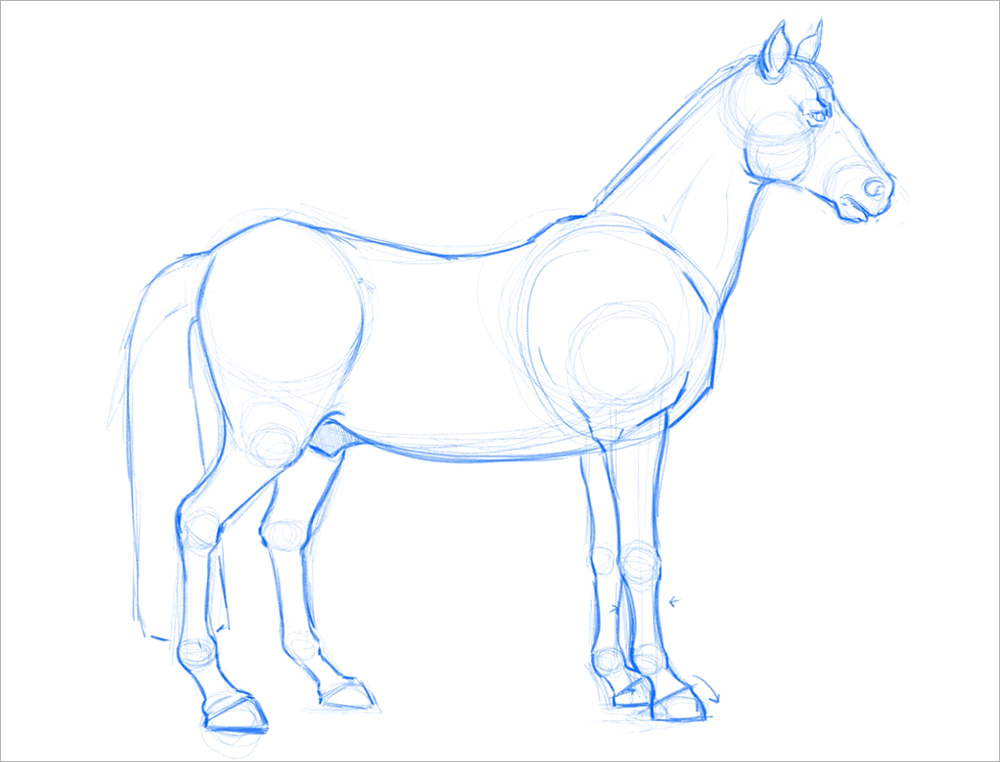
Let us split up each procedure of the drawing into a layer. The first is going to be the rough sketch. Start the commencement few lines using elementary shapes like circles, ovals, rectangles, and triangles, getting closer and closer to the anatomy of the equus caballus. Imagine a equus caballus from a side view; what are the nearly appropriate shapes?
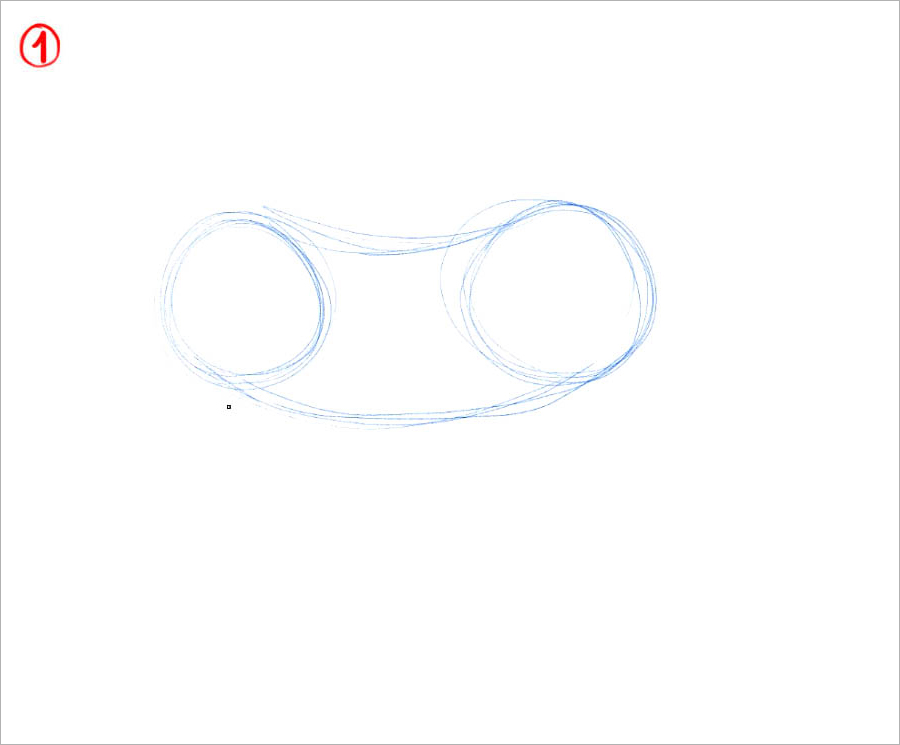
To brainstorm, make two approximately equal circles joined past two horizontal curved lines (1), resembling the shape of a bean.
Next, describe two smaller circles for the caput. Connect these with elementary lines to make its skull, then join it to the body with two straight lines for its neck (2).
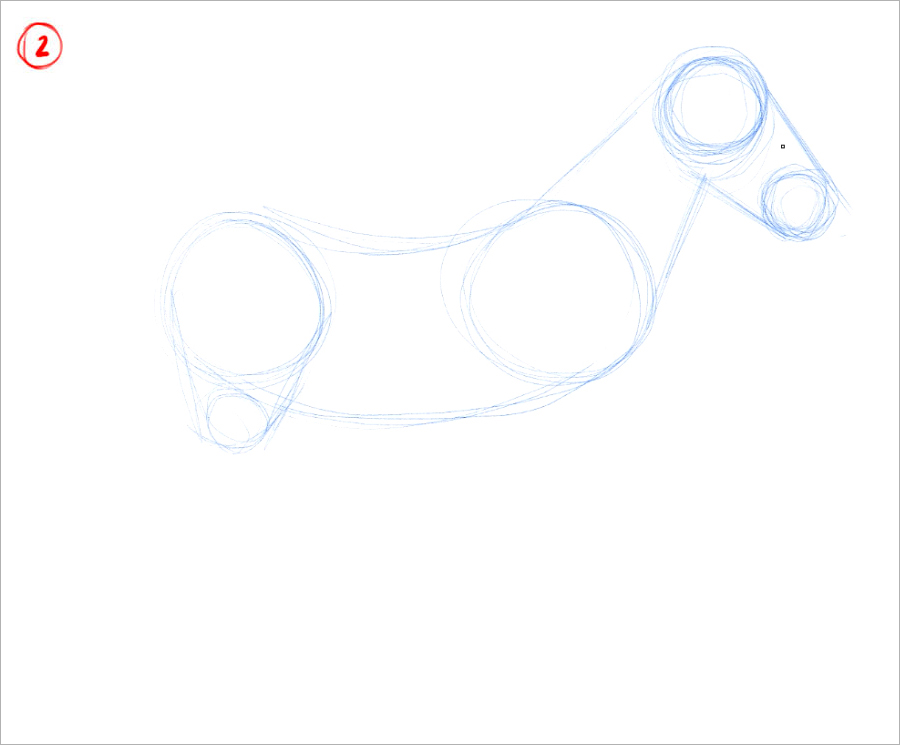
Now, I focus on its legs: The front ones are simpler since you simply need a couple of rectangles and circles for the joints, ending in ii diagonal lines that connect to an oval representing the hoof (iii).
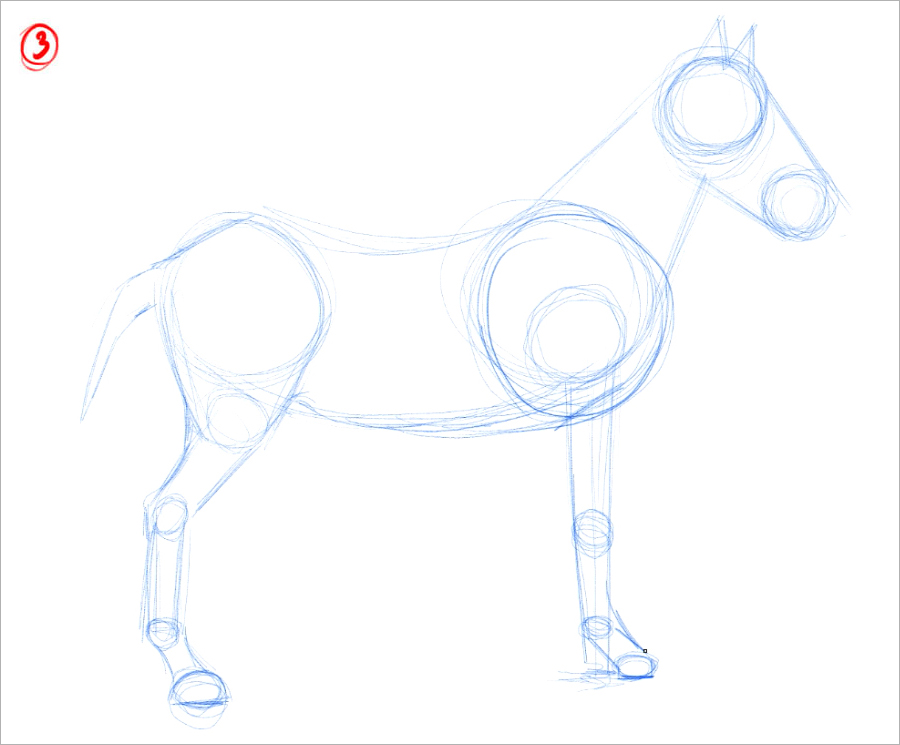
For the back legs, draw a small circle nether the dorsum end of the horse to shape the thigh, and as with the front legs, draw the back legs with lines and circles —only this time, there are two diagonal sections (4). Look at the following image:
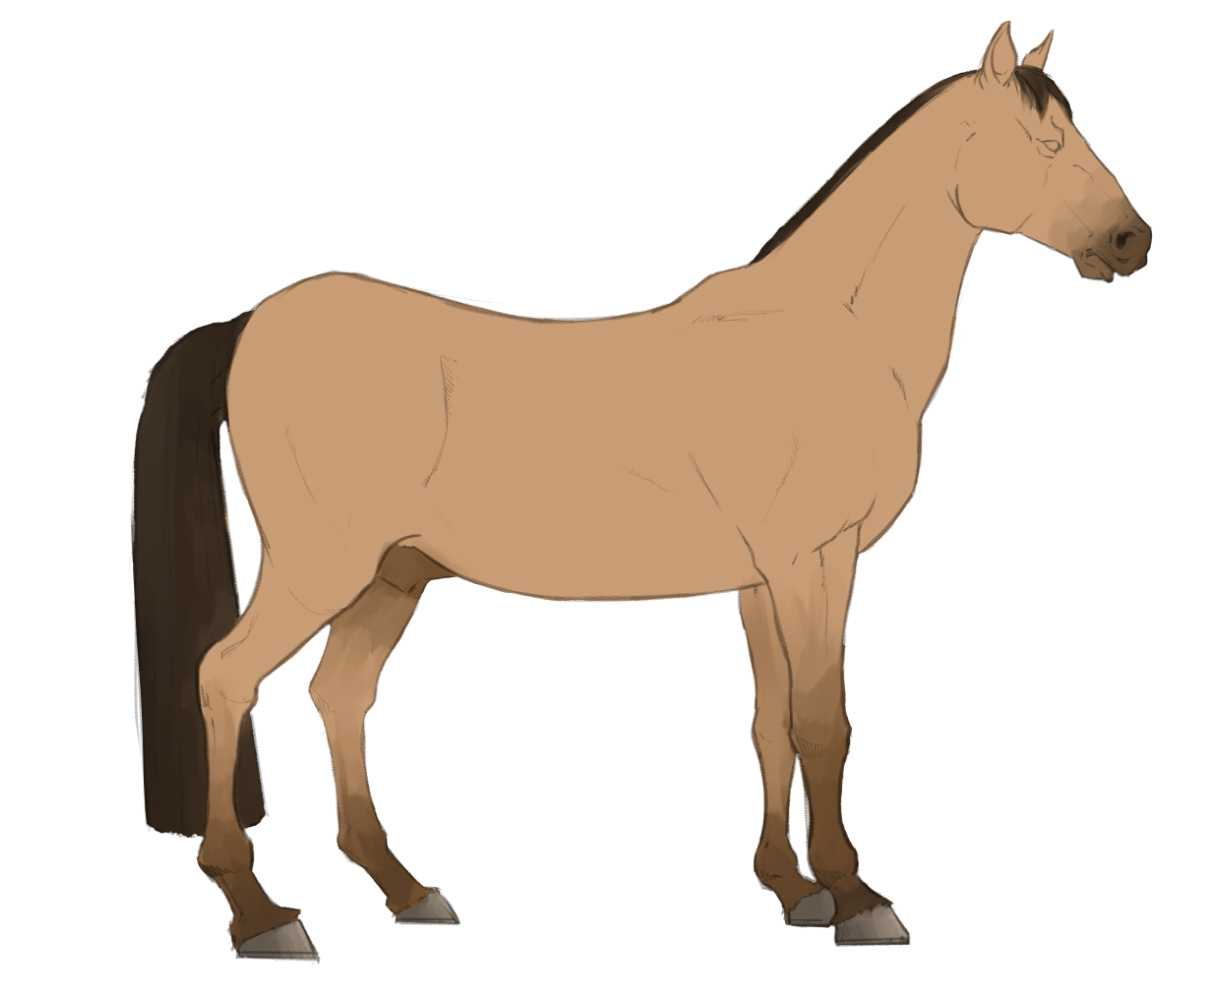
3. Sketch
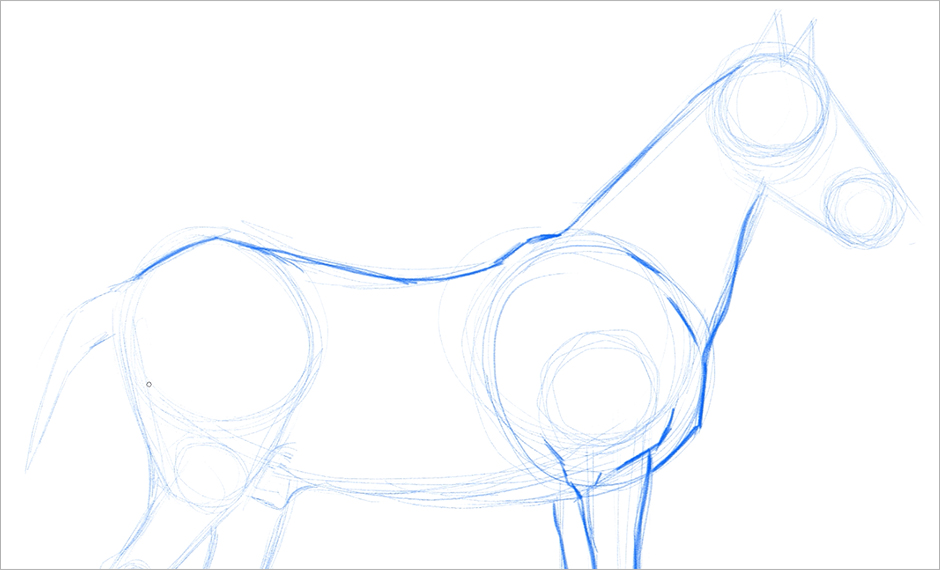
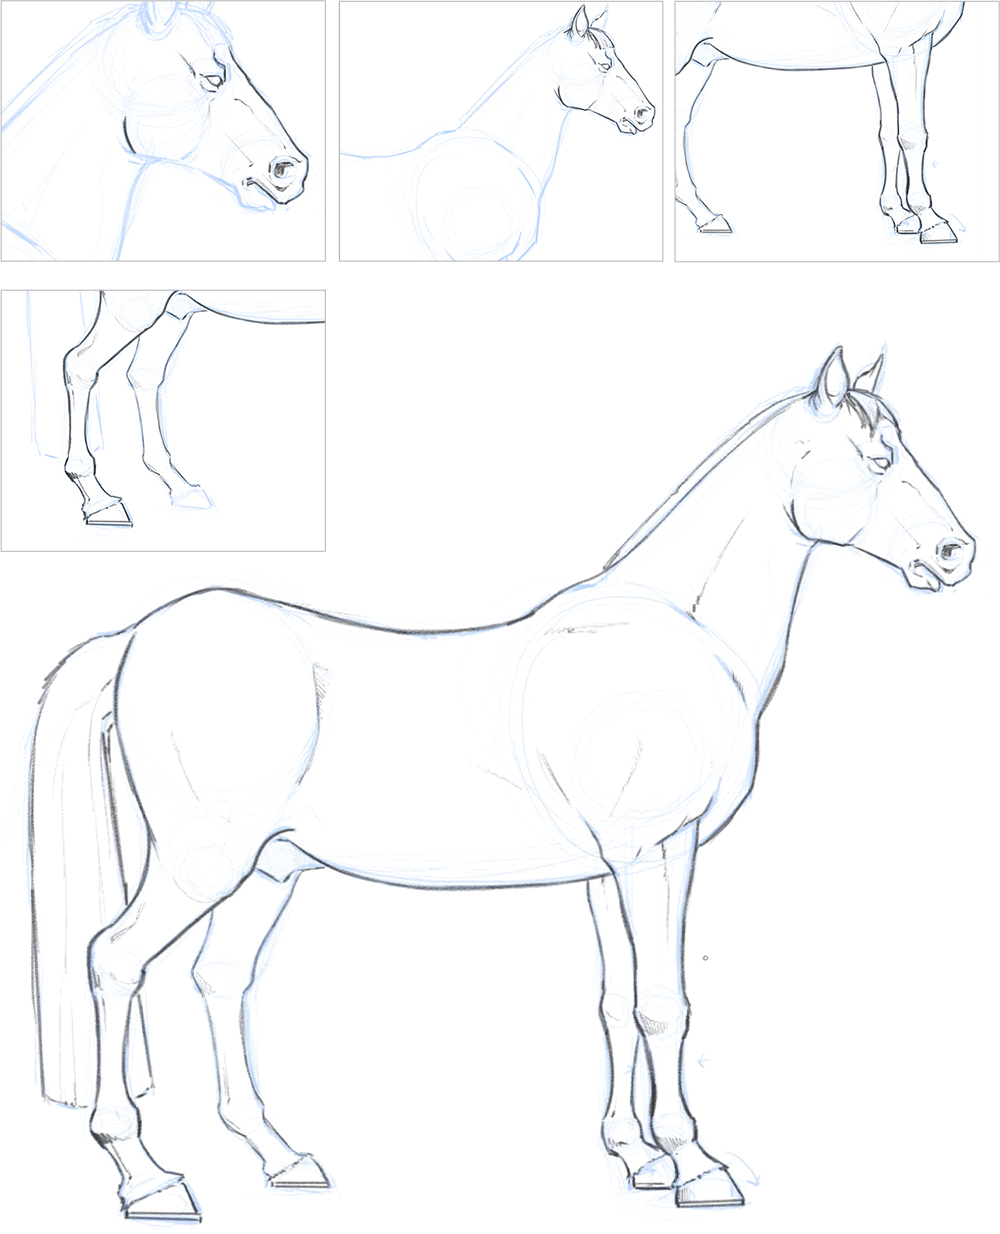
Once the construction is set, information technology is fourth dimension to define the shape of the equus caballus'south trunk by joining all the previously drawn lines. Hither yous can use line weight to define relevant beefcake.
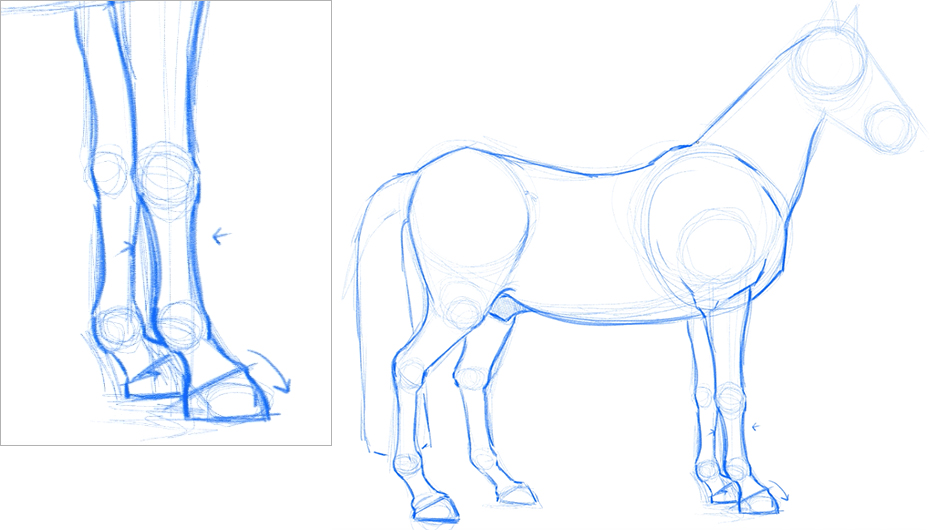
Now nosotros can better appreciate the legs. Notice that the sketch lines that were previously direct at present have to curve a piffling inwards between the joints (as indicated by the arrows in the post-obit image) and outward at the joints and the hoof.
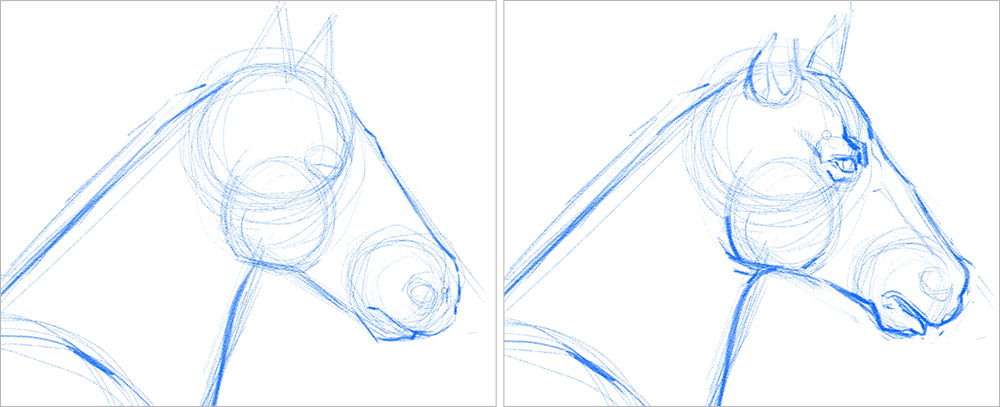
To amend construction the skull, I added another circle below the largest one (the top of the head) to place the cheek, the most characteristic part of the equus caballus'due south head. This crucial detail gives realism to the cartoon. Next, I place the heart, the nose, and the oral cavity. For this specific step, it is essential to take your reference board at hand.
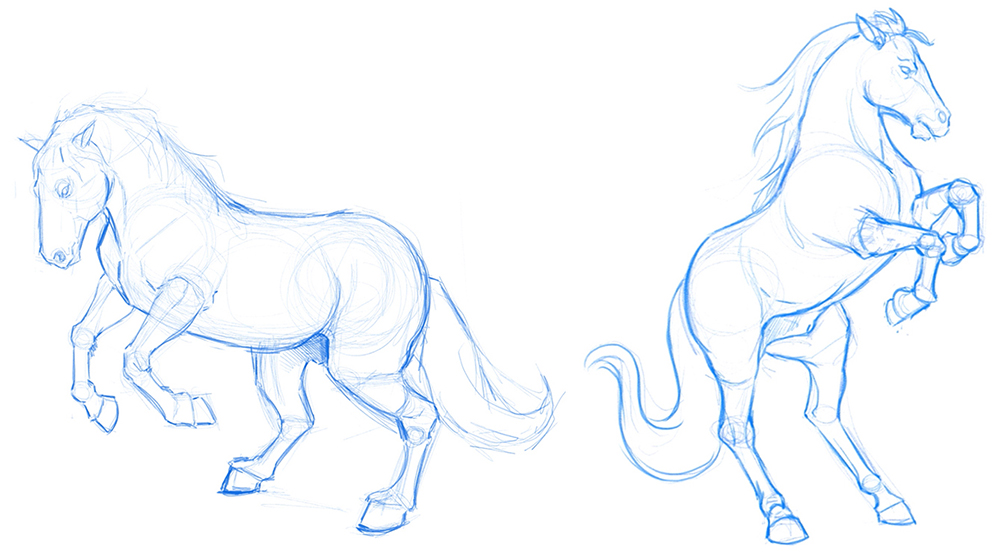
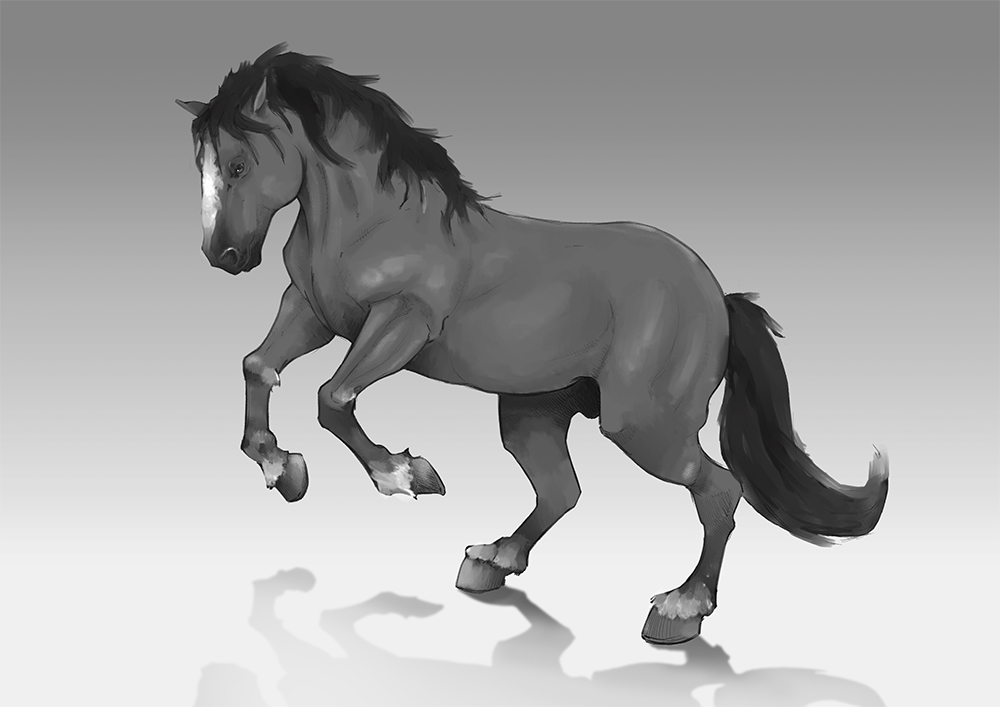
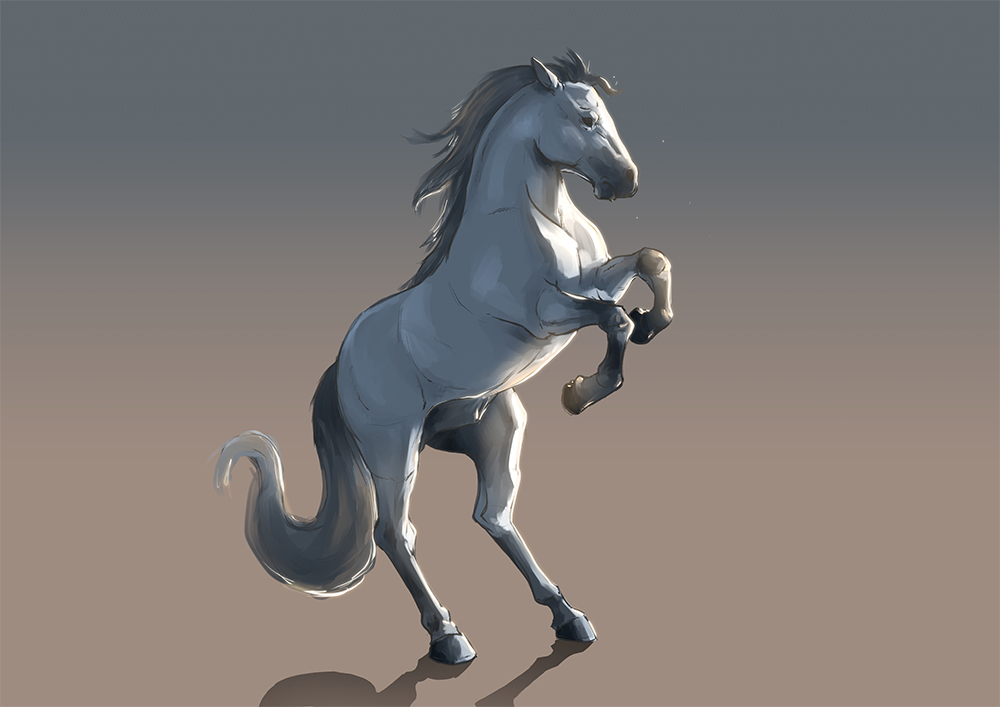
I chose this contour pose for the tutorial because information technology is simple, straightforward, and suitable for a tutorial. However, you don't have to limit yourself. Here are two other pose sketches to help you run into other pose options.
4. Clean Art
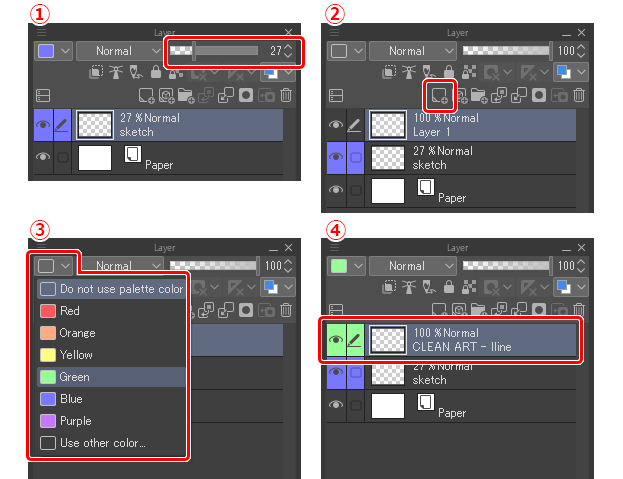
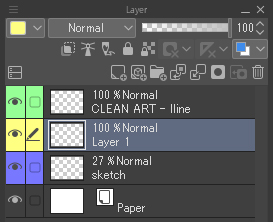
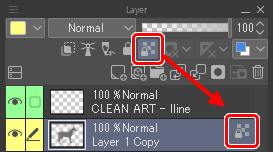
Now that we have our effigy ready, nosotros need to clean upwards our work. To do this, first lower the opacity of the sketch layer and so that it does non carp y'all — around 20-thirty% will be plenty (ane). Then create a new layer by clicking on the button shown in the image (2). An organization trick is to requite each layer a specific colour to apace exist able to differentiate them (iii). Finally, correct-click and rename the new layer to "make clean art," and then you know where your clean lines volition go (4).
Time to keep drawing. Using the sketch as a guide, I volition describe in the new layer. I start building, this fourth dimension in a darker colour, what will exist the final shape of my illustration.
five. Flats
This new footstep begins the same every bit the previous ane. Create a new layer, rename it, and assign it a new color. In this example, I gear up it as yellow.
Important: Drag and drop this layer between the previous ii (the sketch and the clean line art) so that your clean lines fine art layer is on meridian of the flats we are about to create.
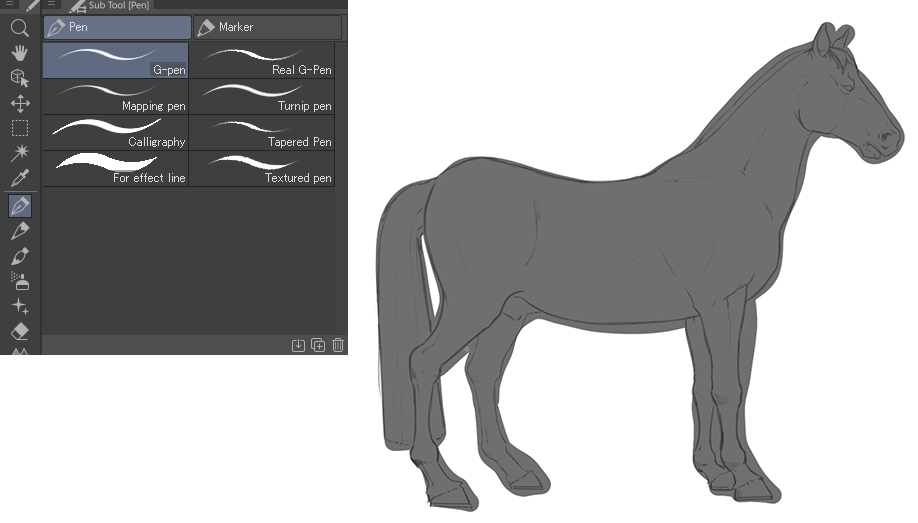
With the GPen tool and a mid-gray color we begin to color the horse.
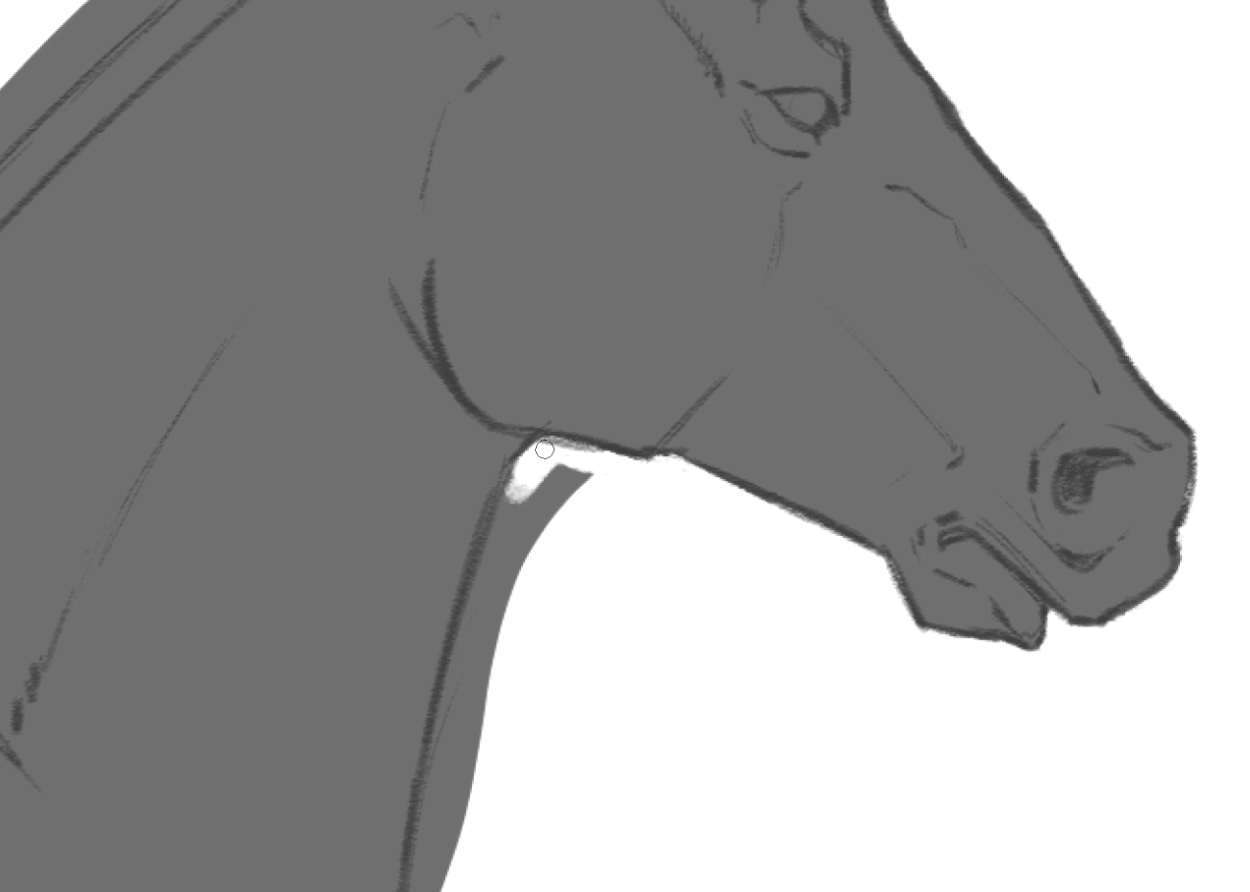
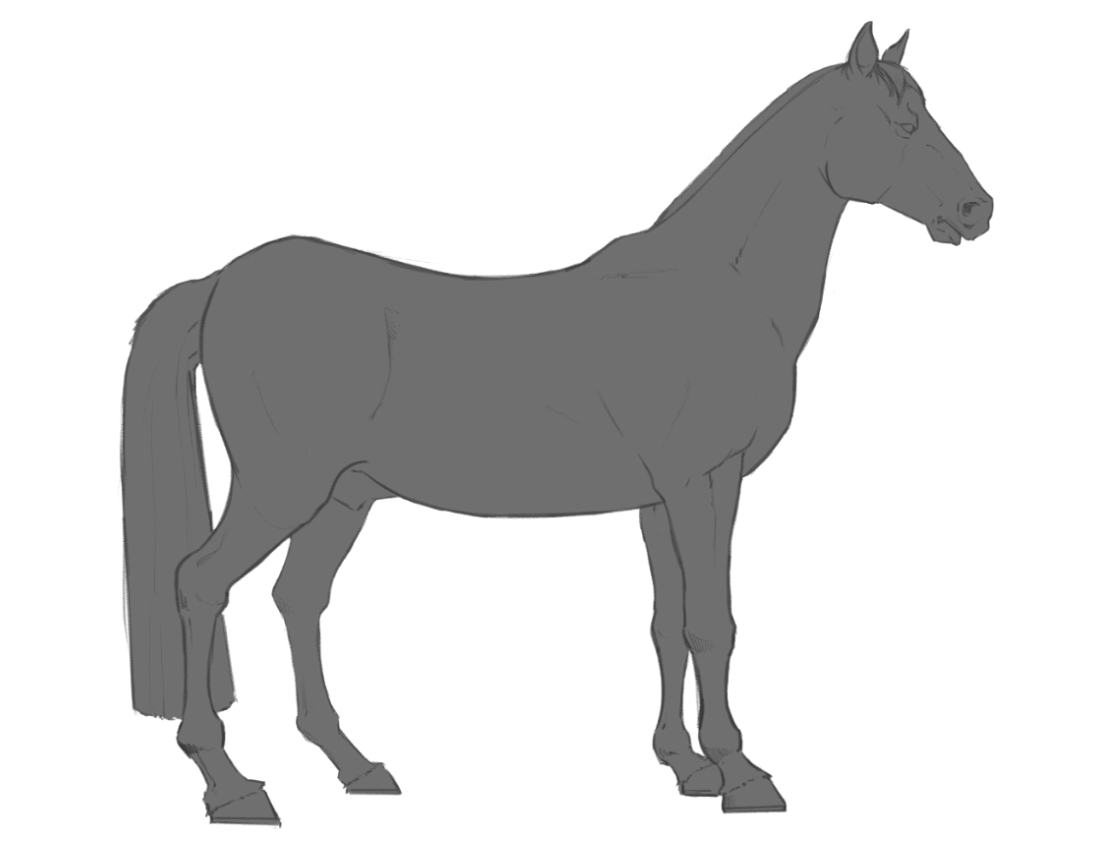
So, with the eraser, remove whatever excess color that went past your clean line art with care and patience until there is a clear-divers silhouette without whatsoever mistakes.
6. Color
With this procedure finished and, before moving on to the next 1, I lock the transparent pixels of the color I just created so that any farther painting will non go across those lines. This makes painting much easier and more efficient.
We volition also indistinguishable the gray layer (correct-click on the layer > Duplicate Layer). I will explain why we will demand information technology in department 7.
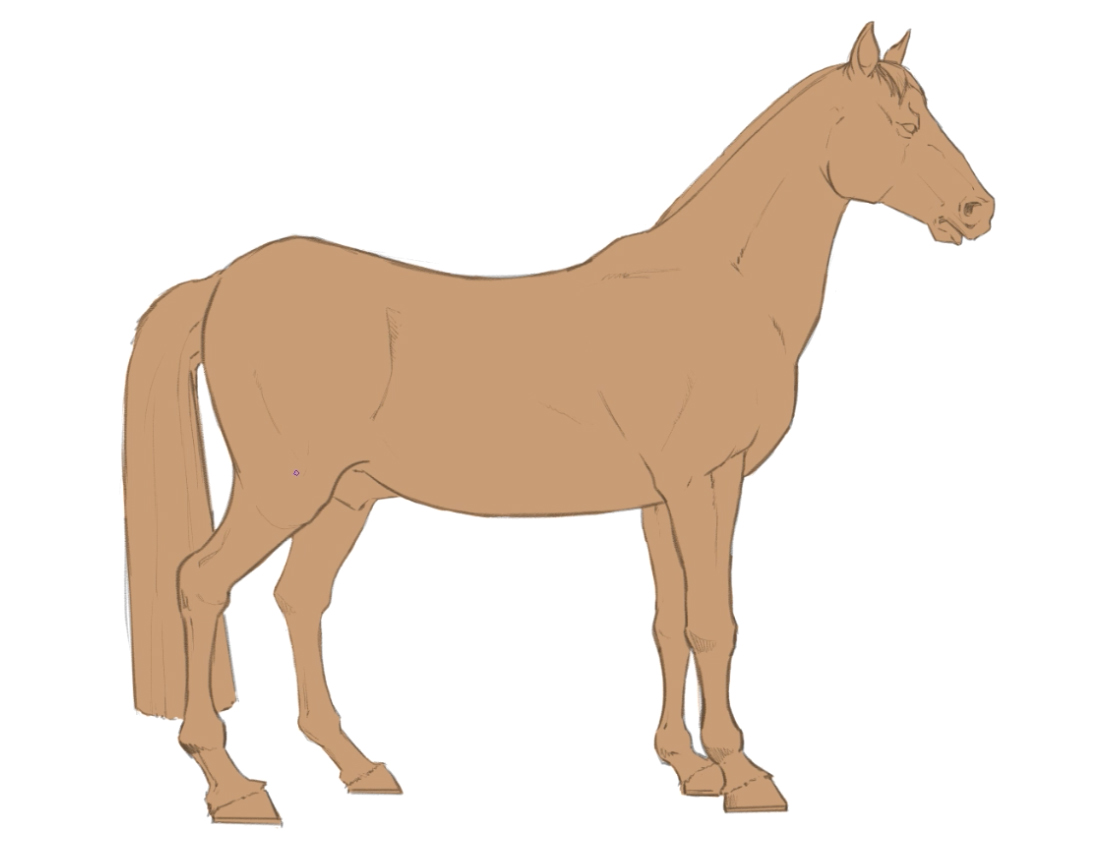
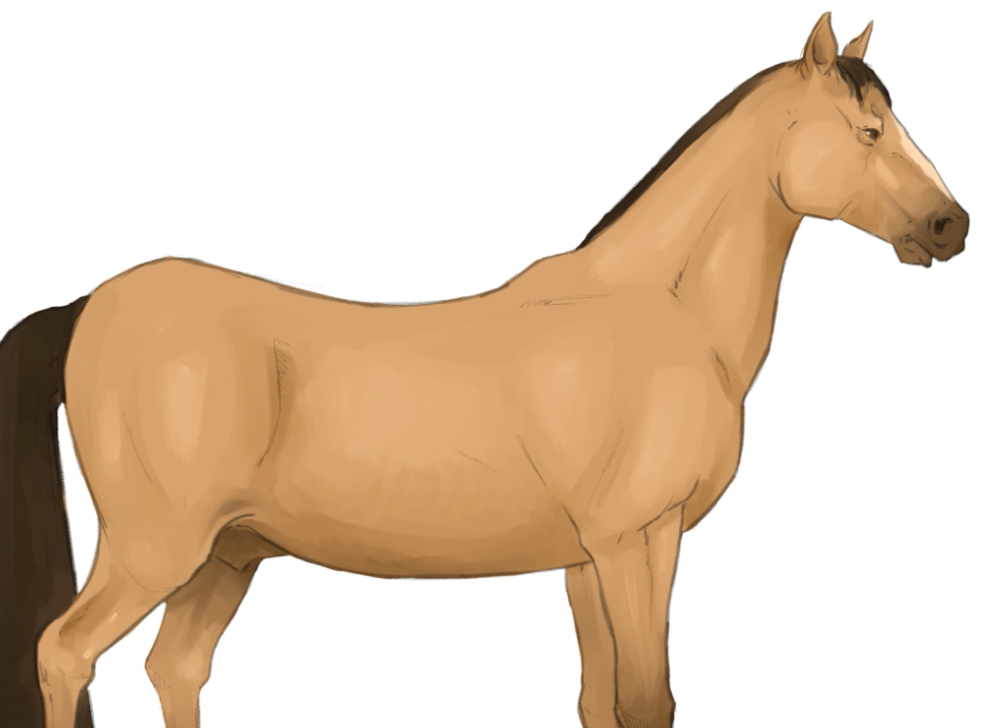
At present choose a color that y'all like for the horse's fur. I chose a lite bawdy tone, but you tin can endeavor others based on your previously selected references. Apply color with the paint saucepan tool.
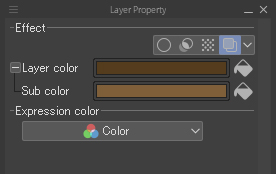
Another way to modify the color of the horse is past selecting the 4th icon from the right on the Layer Backdrop palette.
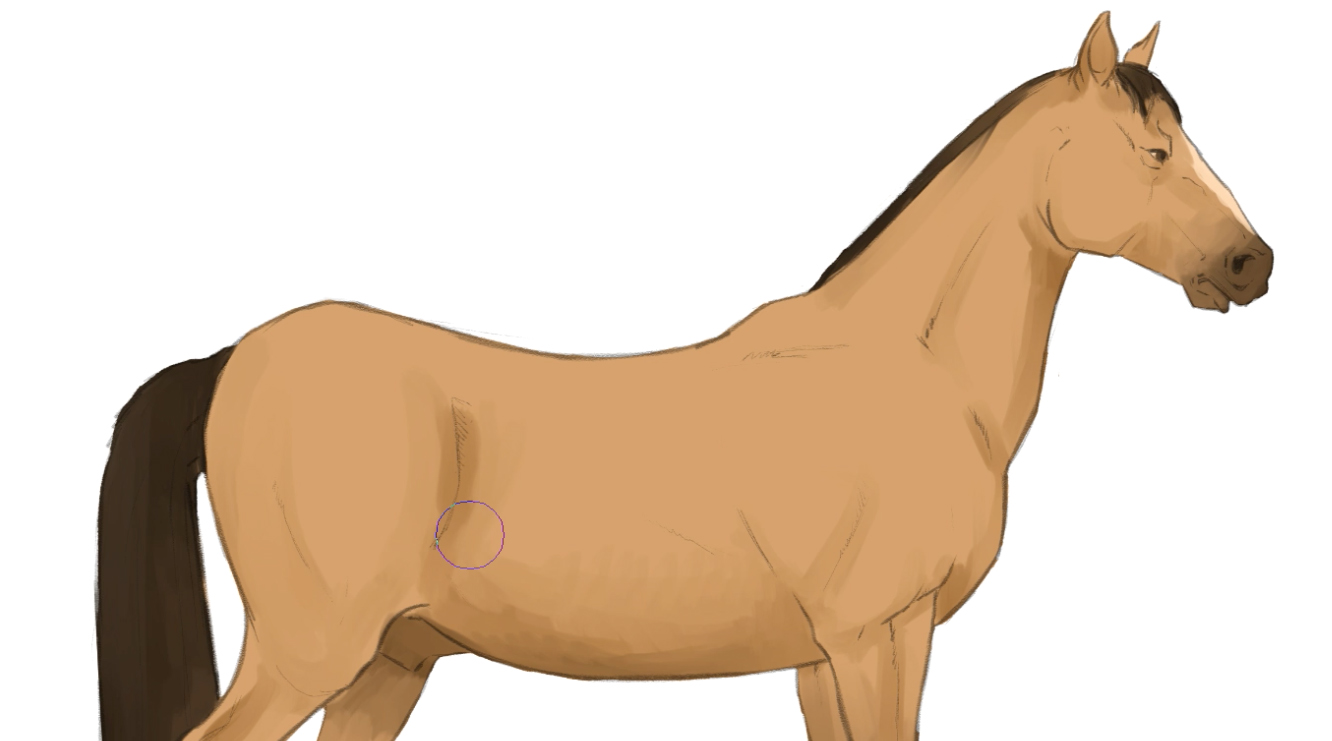
When working with different shades of color, my communication is to use the Watercolor Castor in a shade that is darker than the base color of the fur. Look at the following images:
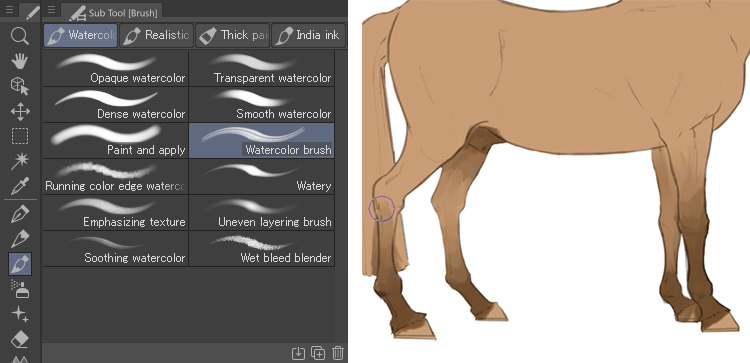
As yous tin run into, I began with the legs and continued with the cage and the mane, the latter two being even darker than the legs.
I also used a chocolate-brown color like the 1 I used for the legs to shade the horse. For this pace, take all the time you demand to make sure you lot get the right dark tones for creating volume and depth, specially in the eyes and nose.
After the shadows, it is time to add the highlights. Apply some lite spots where the light reflects virtually; for instance, in the most prominent musculus areas: Cheeks, neck, side, and upper leg muscles.
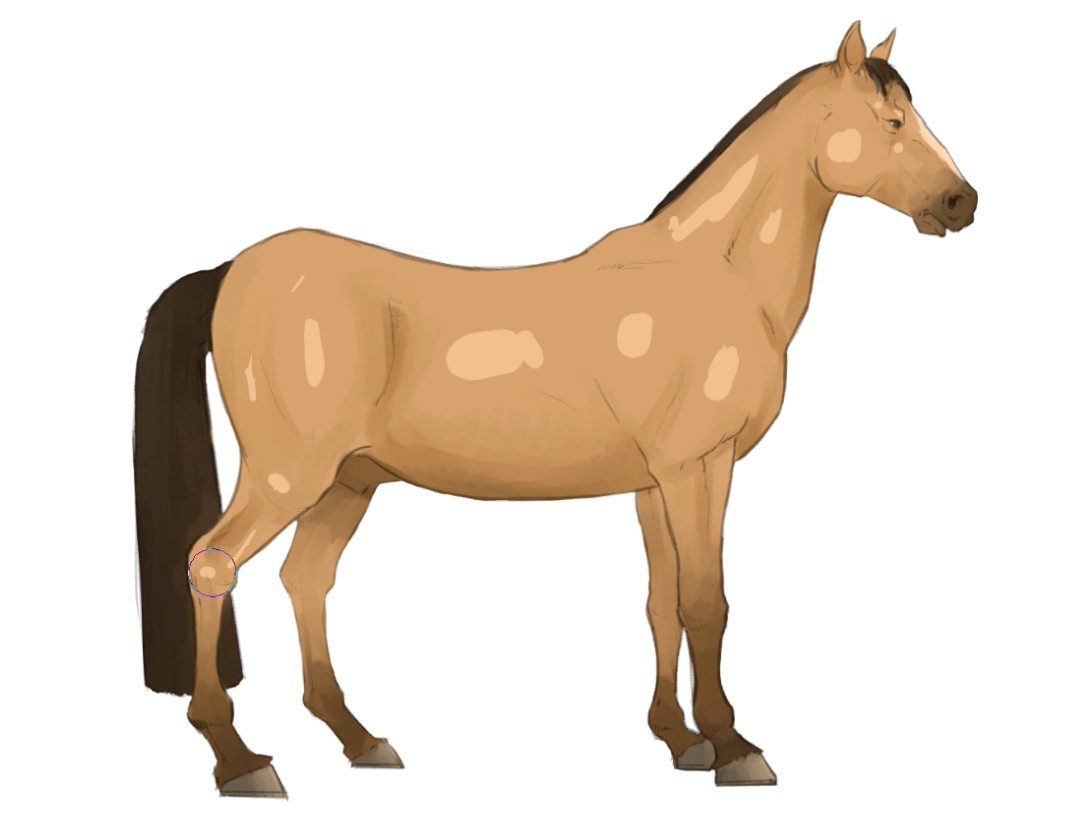
Then use the Soothing Watercolor Brush to smooth out the highlighted areas while post-obit the shape of the trunk.
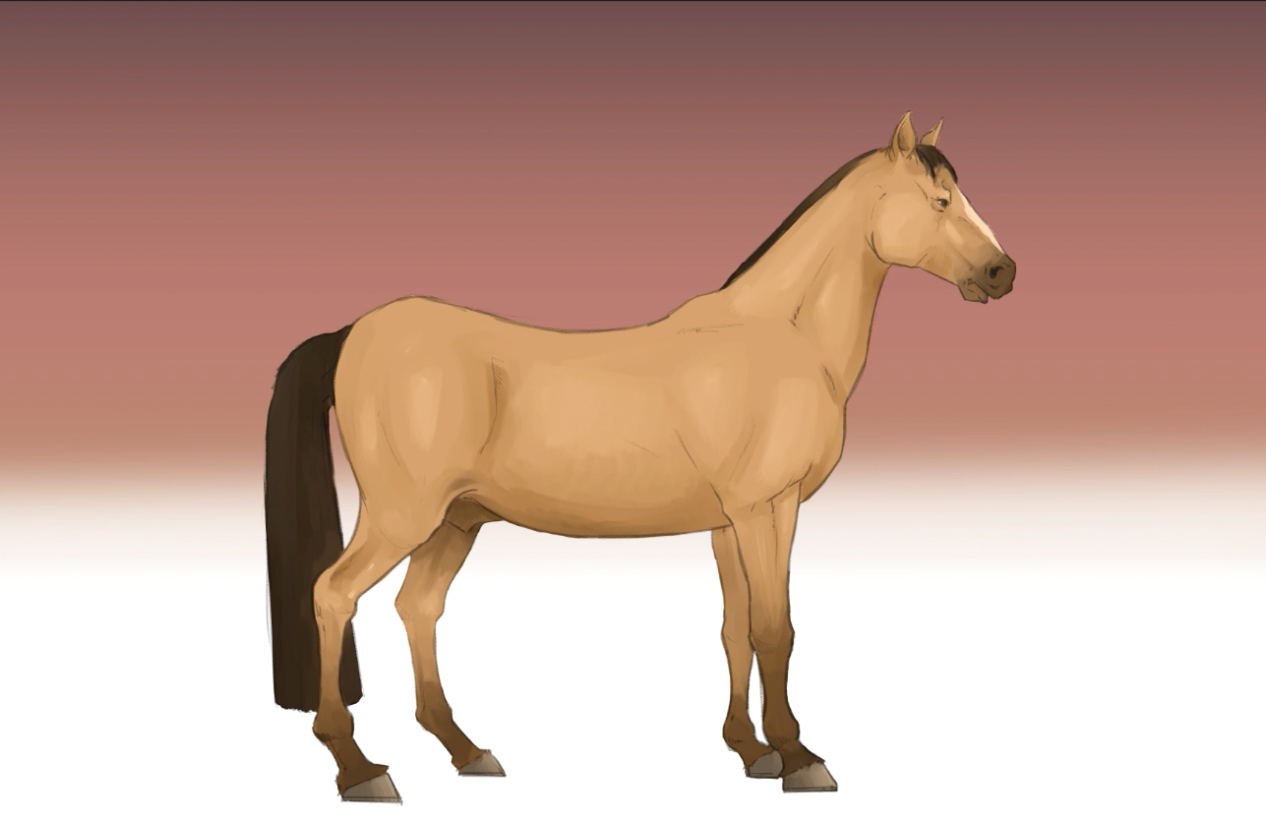
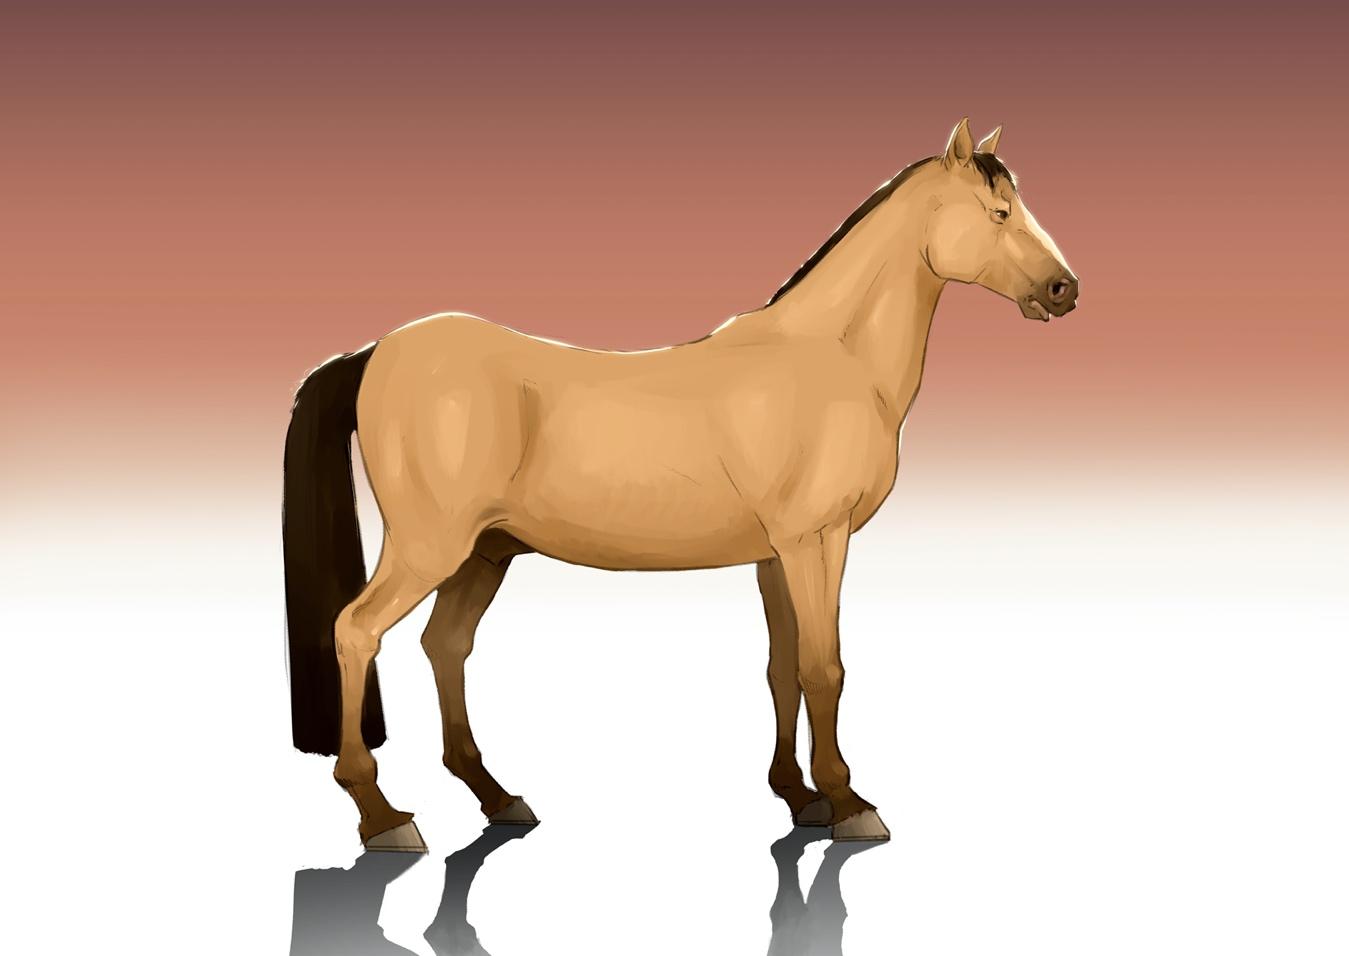
7. Presentation
Now, let united states retrieve about how we wish to present the illustration. Outset, I create another layer and place it backside all the previous ones. With the Gradient tool, I use a color that all-time matches the horse'due south tones and set it vertically.
Side by side, I create the cast shadow, that is, the shadow that the horse projects on the basis to add weight and realism to the epitome. This is where that duplicated gray layer from step half-dozen comes in handy. I transform this layer (Edit > Transform) and right-click on the choice and cull Flip Vertical (1).
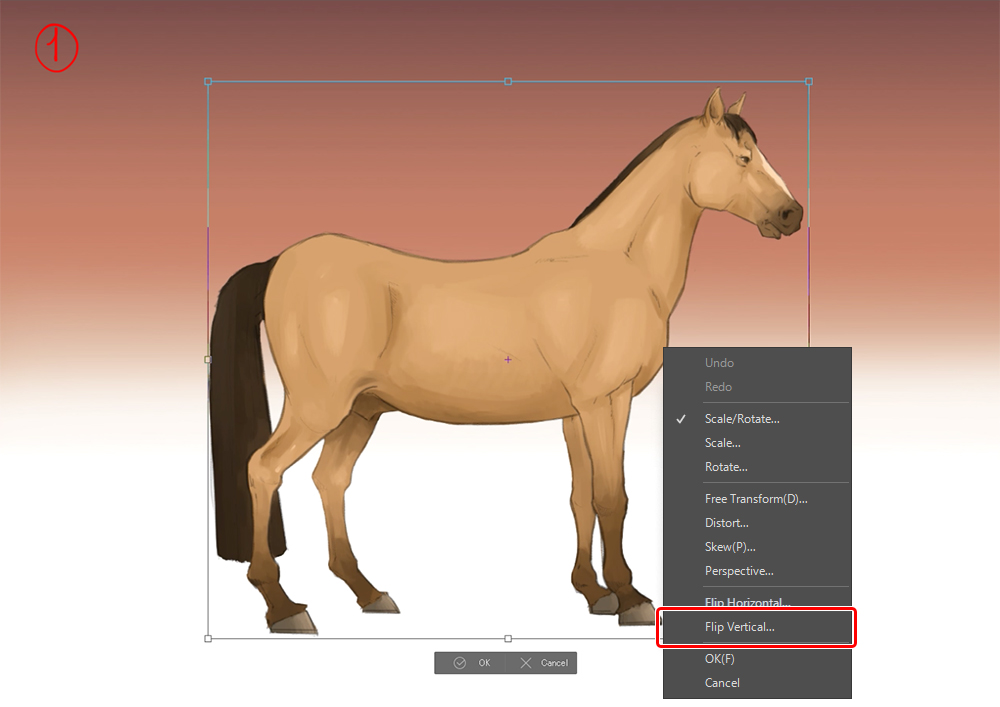
Then I shape it a bit to lucifer the legs (ii).
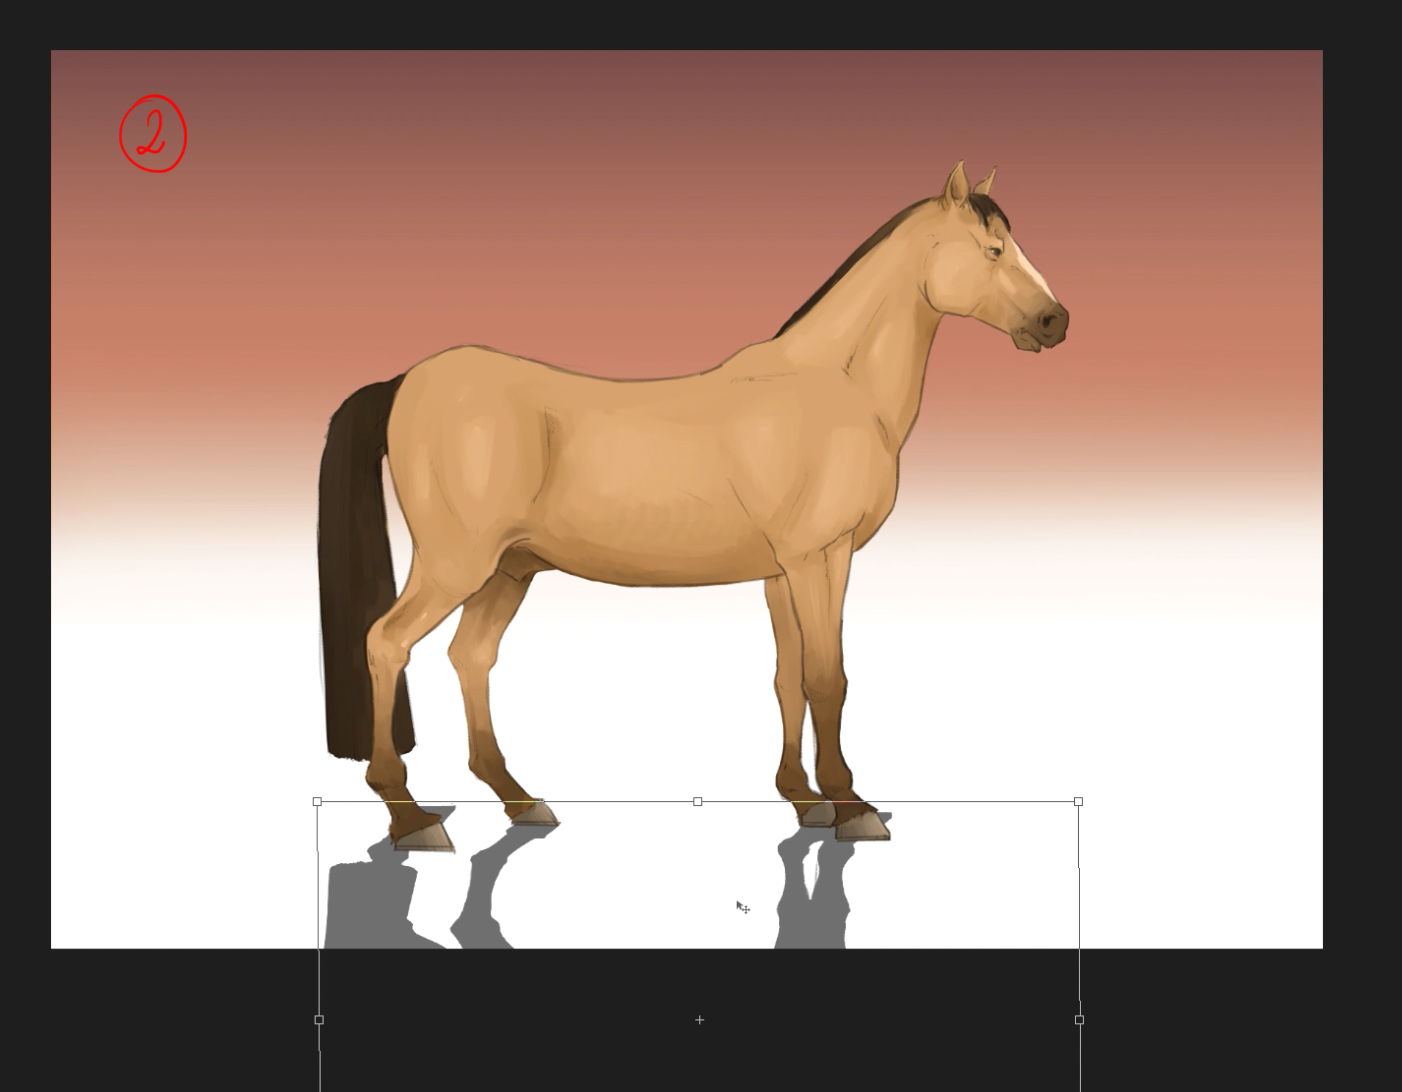
Erase the unnecessary parts (3).
And add some mismatched ones, like the base of the hooves (iv).
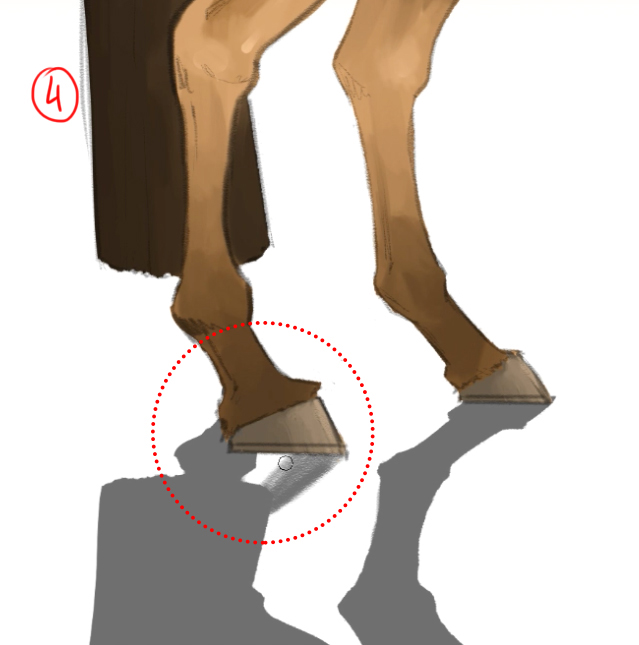
To finish off this shadow, I volition apply a swift gradient in the farthest expanse with the Soft Eraser tool at a big size (800px) (five).
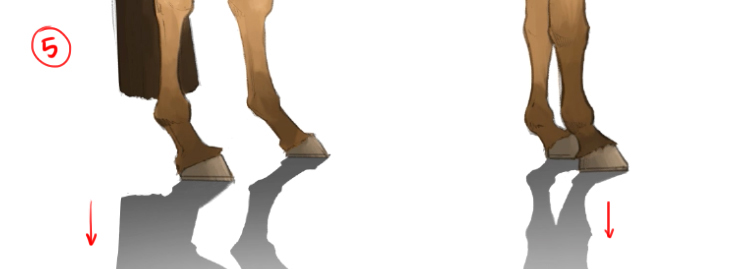
This is a useful technique that y'all can apply in illustrations of characters, objects, or animals.
As the concluding tip in this presentation, I am adding a line of light along the horse'southward back and head, which will give a powerful and realistic effect. To do this, create a new layer to a higher place the clean line art layer, and paint a line using a very light warm colour forth the upper part of the body. I and then duplicate this layer and use a Gaussian blur (Filter > Gaussian Blur) to create a glow simulating the reflection of light.
Allow me evidence you some horse poses from other points of view to draw following these guidelines. I encourage you to try them out without fear!
▼Animated GIF
▼Animated GIF
I promise that my advice, together with the video linked to this tutorial, will help you draw horses and make excellent illustrations with skillful proportions and dramatic poses.
We accept reached the cease of this tutorial. Delight do share your best horses drawn using this tutorial with me on Instagram (@Danipuente_conceptart. I would honey to see them!
If y'all accept any questions, I am at your disposal: danielpuentemorales@gmail.com.
As always, it'due south been a pleasure to draw for all of you lot!
– Daniel Puente
world wide web.Danipuente.com
Instagram.com/danipuente_conceptart/
Artstation.com/danipuente
Source: https://www.clipstudio.net/how-to-draw/archives/164904
0 Response to "How to Draw a Paint Horse"
Post a Comment